
As a lifelong admirer of the timeless paisley pattern, I’m thrilled to share this festive DIY project that combines traditional holiday decorating with the elegant swirls of paisley designs.
Materials Needed:
- Clear glass or plastic ornament balls
- Acrylic paint (recommended colours: gold, silver, deep red, emerald green)
- Fine-tipped paint brushes
- Metallic paint markers
- Ribbon or ornament hooks
- Optional: glitter, clear sealant
Step-by-Step Guide:
- Clean your ornaments thoroughly and let them dry completely
- Apply a base coat of your chosen background colour
- Sketch your basic paisley pattern with a light-coloured pencil
- Paint the main paisley designs using your fine-tipped brush
- Add intricate details with metallic markers
- Optional: dust with glitter while the paint is slightly wet
- Seal with clear coating for longevity
Design Tips:
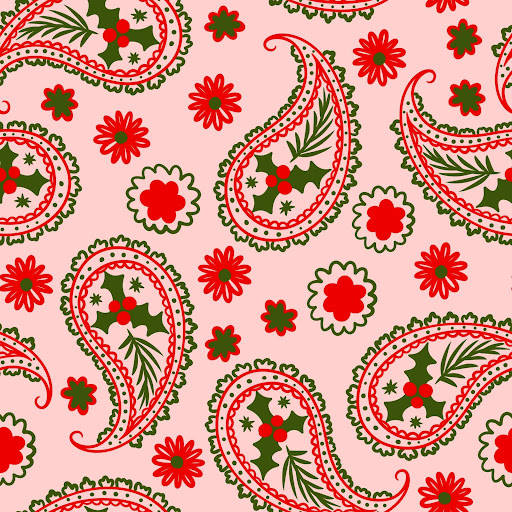
Remember that paisley patterns are all about the teardrop shape with a curved upper end. Start with larger shapes and fill in with smaller details. Traditional Christmas colours work beautifully, but don’t be afraid to experiment with modern colour combinations like navy and gold or purple and silver.
Variations to Try:
- Monochromatic paisley patterns using different shades of the same colour
- Reverse patterns – paint the paisley design in the base colour on a metallic background
- Mixed media – combine painted paisley with rhinestones or dimensional paint
These ornaments make wonderful personalised gifts and can become cherished family heirlooms. The best part? Each one will be uniquely yours, adding a personal touch to your holiday decorations.
Storage Tips:
To preserve your handcrafted ornaments, wrap them individually in tissue paper and store in a sturdy container. Keep them in a cool, dry place to prevent paint from peeling or fading.
Written by Alan Boal Paisley