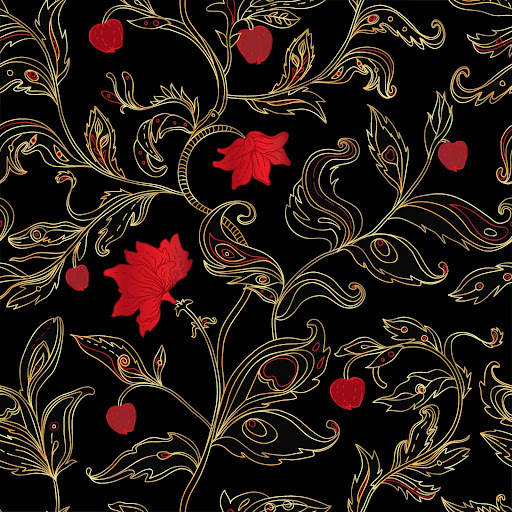
Paisley patterns are a timeless design that has captivated artists and designers for centuries. These intricate and flowing designs have adorned everything from textiles to wallpaper, and now, with a little guidance, you can create your own. In this comprehensive guide, we’ll walk you through the process step-by-step, from gathering your materials to adding the final touches.
Materials You’ll Need
Before you begin, make sure you have all the necessary materials. The right tools can make a significant difference in your creative process.
- Drawing paper or a sketchbook: Choose a medium that you feel comfortable working with.
- Pencils and erasers: These will be essential for sketching and refining your design.
- Fine-tipped markers or pens: Used for inking your final design.
- Coloured pencils or watercolours (optional): To add a splash of colour to your paisley pattern.
Step 1: Sketch the Basic Shape
Start by drawing the basic teardrop shape of the paisley. This shape is the foundation of your pattern. Don’t worry about precision; paisley patterns are known for their fluidity and organic shapes. Consider drawing multiple teardrop shapes in different sizes to give your pattern a dynamic feel.
Step 2: Add Details
Once you have your basic shapes, begin adding details inside the teardrop. Think of swirls, lines, and smaller motifs that can fill the space. The key is to create an intricate and interesting design. Use your pencil lightly until you’re satisfied with the layout, allowing room for adjustments.
Step 3: Create a Pattern
Repeat the paisley motif across your paper to form a pattern. You can change the size and orientation of each motif to add variety and interest to your design. Experiment with overlapping shapes and varying the density of details to create depth and movement in your pattern.
Step 4: Ink Your Design
Once you’re satisfied with your pattern, use fine-tipped markers or pens to trace over your pencil lines. This will make your design stand out and give it a polished look. Take your time to ensure that lines are smooth and consistent. If you make a mistake, don’t worry—imperfections can add character to your design.
Step 5: Add Colour
If you wish, use coloured pencils or watercolours to fill in your paisley pattern. Choosing colours that complement each other will enhance the beauty of your design. Consider using a colour palette inspired by nature or cultural motifs that traditionally employ paisley patterns. Layer colours create gradients and highlights, giving your design a three-dimensional feel.
Step 6: Final Touches
Review your pattern and make any final adjustments. Look for areas that may need more detail or colour. Adding highlights or shadows can give your pattern a more finished look. Once completed, consider how you might use your pattern—whether it be for a digital project, home decor, or a unique piece of clothing.
Conclusion
Creating a paisley pattern is a delightful way to express your creativity. With practice, you can develop your own unique style and use it in various art and craft projects. Whether you’re a beginner or a seasoned artist, the process of designing a paisley pattern is both rewarding and relaxing. Happy designing!
Alan Boal Paisley

